

I have been trying to keep my dining room tidy (read: clutter free), but functional (read: able to be used for crafts and play) by not accumulating new things until I have wrapped up some of the started, anticipated, and lists of crafty things that I have accumulated over the winter months. It is like crafty-nesting.
I have also tried thinking of simple accessories to decorate with that are, let's face it, easy to push aside when I need my work space or when it was time to eat. (Really, who wants to push aside 6 glass vases and votives and move them back into place every day, several times a day. I love looking at pictures of beautiful dining rooms, both casual and formal, and the clever, seasonal, pretty center pieces that go in them. There is just too much going on in ours for something elaborate to work.)
Now, I don't know if it is the highs and lows of pregnancy or living with the same color for 5 years, but I am soooo tired of green. We are not, however, in a spot to repaint a dining room right now. Actually, I am not interested in painting. Although we are not in a spot to buy a new home right now, we are sort of "window shopping" and a baby is on the way, so I can't justify paining a room right now. I can, however, justify making things a little easier or simpler.
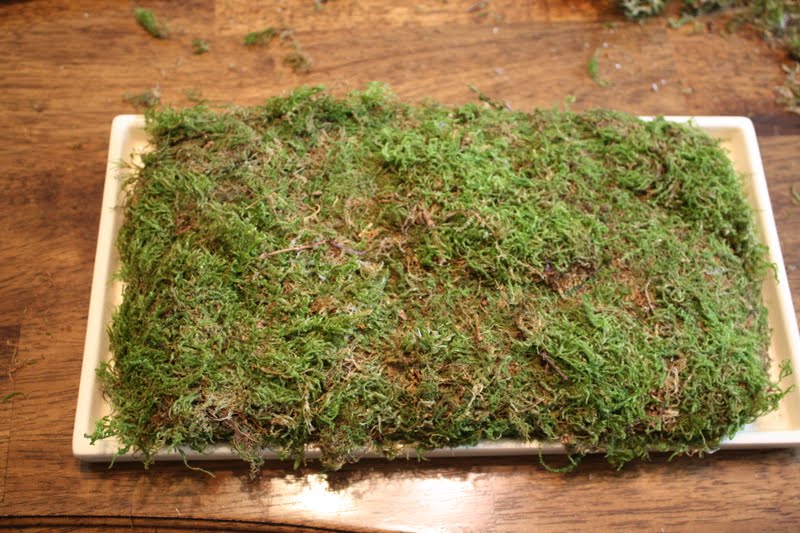
In that spirit, I decided on a something that was a single piece; low; neutral and natural looking to work with our current green and the season; and able to be moved back and forth easily. Having seen these moss-and-rock-type center pieces online and in magazines, I gave it a go.

Isn't that nice??? (And look! My table is clear!!!)
Grab a couple of supplies like:


I also cleaned up the dresser-turned-buffet in our dining room...


And fixed up a nice little vase...

Using some rolled paper flowers...

A side note--my dining room table is currently (sort-of) clean with just a small pile of bead containers and small boxes of thread and buttons at the end of the table. Not tooooo bad, right?
:)
Anne


Very attractive! Love your new blog - your header is fantastic! You gave a perfect, step-by-step tutorial! Thanks for sharing with us on Sundae Scoop. I "followed" your blog cuz girl, you're going places :)
ReplyDeleteMary @ Redo 101
So gorgeous. I definately need more nature in my life! I would love it if you could stop by Heck Fridays tomorrow (Thursday) and post it on our first link party!
ReplyDeletehttp://www.heckfridays.blogspot.com
Hope to see you soon!!!