Pages

4.11.2011

Bunny Pretzel Pops

Happy Monday.  It finally feels like Spring these past couple of days and even though I am exhausted, it puts a little bit of pep into my step.  It is a windy day today (I am reminded of "Pooh's Blustery Day"...we have seen that movie quite often), but we still went outside, walked a couple of blocks, and played on the slide.  It was just good to be out of the house.  

Also made these today with Moira.  Salty & sweet...mmmm


And they are covered in coconut...double mmmm

Here is what you need:

We used mini chocolate chips, white chips, pretzel rods, 'regular-sized' marshmallows, and flaked coconut.  Most of it probably looks self-explanatory, but here is what to do:

Get your little work station set up...white chocolate chips melted; mini-chips ready; coconut in a shallow dish; marshmallow ears (by the way, the marshmallows were cut down the long way, then each 'slice' was cut in the middle to make 2 half-circles); pretzel rods; and wax paper for the finished product.

Dip the pretzel rod in the melted white chocolate chips.

Immediately roll it in the coconut.

Put the mini-chip eyes and nose on.  Use some of the melted chocolate as glue if needed.
(Moira is in the, "NO, I do it" phase so things got a little messy.)


Use some of the melted chocolate to put on the bunny ears.


Sneak a pretzel rod, and when someone asks you what you are doing, tell them "I'm eating a pretzel!" in your best matter-of-fact voice.

Enjoy your treat (after you eat your dinner, of course!)

And if you have left-over marshmallows and melted chocolate, make these little fellas...roll your marshmallow in melted white chocolate chips, roll it in coconut, and add some bunny, eyes, and nose (using some of that melted stuff for your glue).

:)
Anne

craft

4.08.2011

Easter Hand-Print Painting

If I had to pick one of Moira's MOST favorite things to do, it would be painting.  I say, "We are going to paint a picture" and she practically starts spinning in circles with excitement.

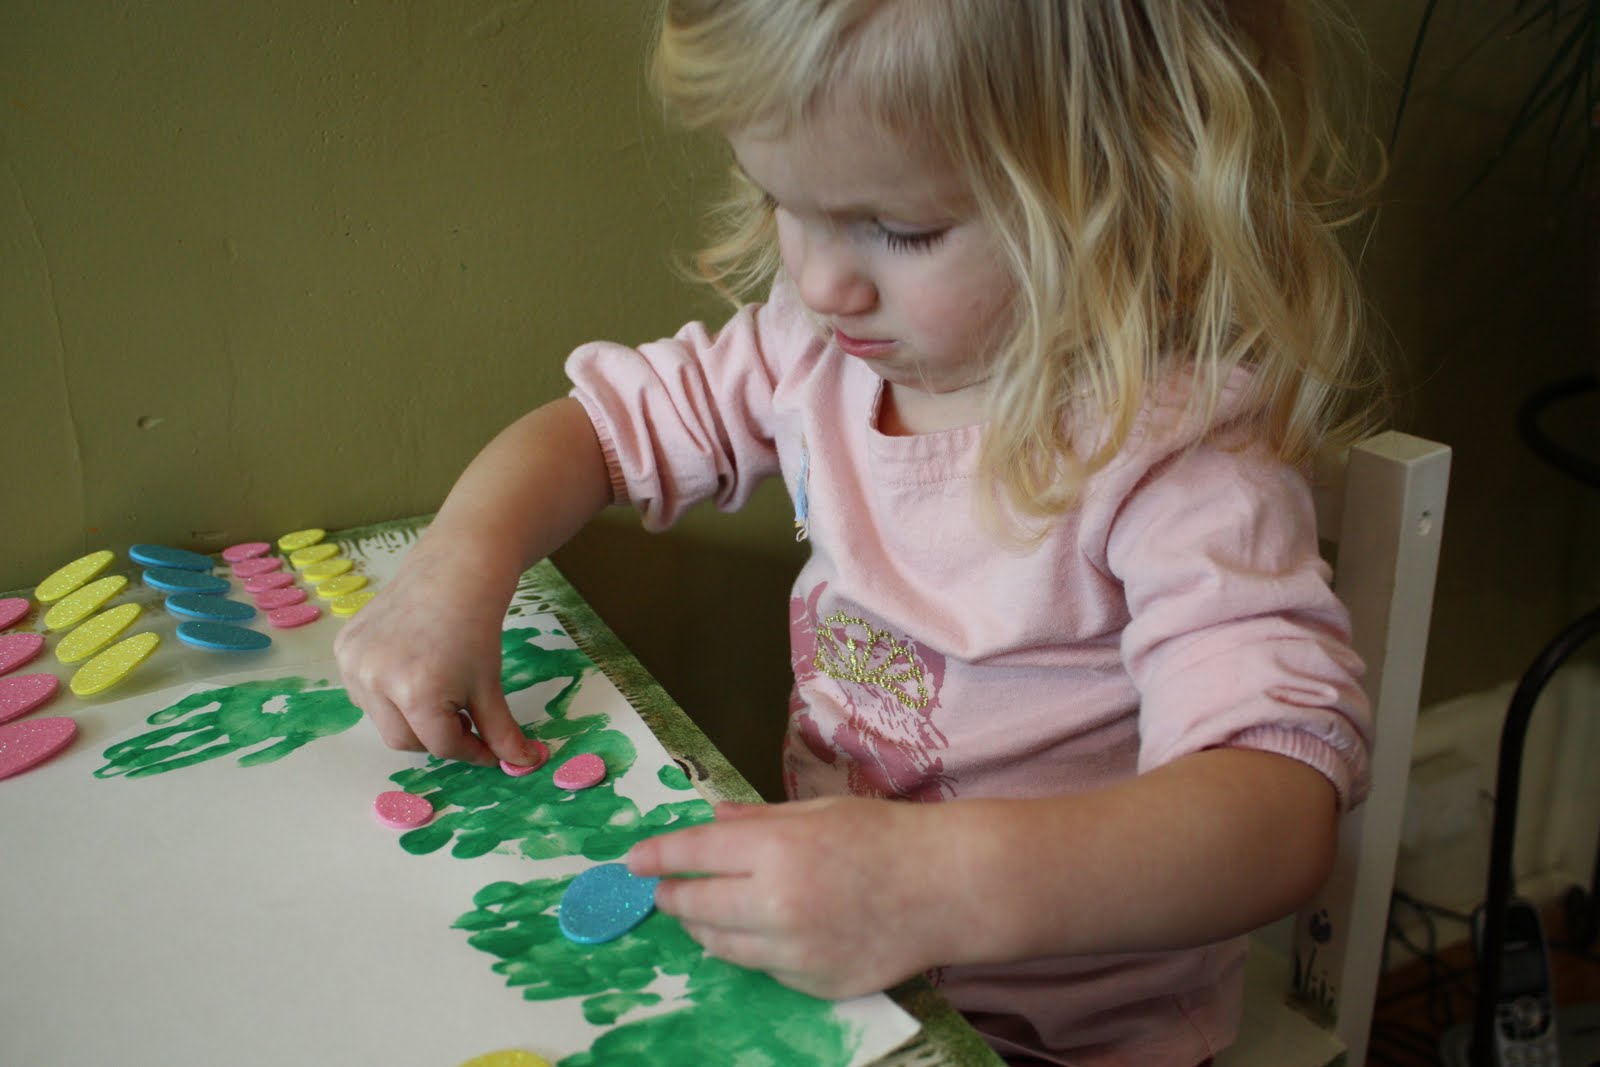
Today we made a hand-print painting of an Easter egg hunt.


With a little bit of green paint, a blank sheet of paper, and...wait, it gets better...glitter egg stickers...we have a real masterpiece.


Moira's hand-prints made the grass.


We have done finger paints before, but...


we are still a little unsure about the feeling of cold, slimy, green paint on the hands at first...


Oh boy.


Now we're getting it...


Oooo, green paint on the hands...


Of course we did a couple of extra pages of fun!


Once dry, we added the stickers.


And the SLP mommy could not resist the urge to enter some concept instruction in there.


On top of the grass, on the bottom of the grass...


Big egg, little egg...


Blue, pink, yellow...you get the idea.


And the best part...showing Daddy her art when he got home.  If only I had the camera ready to capture the pride on this little girl's face at that very moment.  Priceless.

:)
Anne

Join  us Saturdays at tatertotsandjello.com for the weekend wrap 
 up           party!     

4.07.2011

Recovery Week and Silly Hat Day

Being sick is the pits.  After weeks of thinking I was safe from the stomach flu Moira had over a month ago, it hit me...early Sunday morning.  What a bummer.  I missed my dear friend's bridal shower, my hubby left for business on Monday leaving me the only caregiver (and he got the bug Monday afternoon while away for work...double bummer), and something-that-feels-like-morning-sickness has resurfaced.  I am hoping that last part is just the recovery from the nastiness I experienced Sunday and doesn't actually last the next 10 weeks!

Needless to say, I did not do NEARLY as much as I wanted to do this week.  But funny how a visit from an appraiser to your home will whip your sick butt into gear (thank goodness I didn't have too much cleaning/tidying to do).  And funny how being sick will make you open all of your windows in your house everyday to "get the sickness out", even when it is 34 degrees outside.  I love fresh air!

Here are some other things I DID do:

Had a dinner-date at Panera with Moira.  She was such a good girl...


Started some refashioning of old clothes that were slotted for Goodwill.  Stay tuned to see what I do with THIS...


Made (or I could say assembled) a silly hat for Silly Hat Day today at daycare.  She is so proud of this hat (although, it was like pulling teeth to let me get a picture of her in the hat).


Now, my house is (mostly) clean and my day is open.  I don't even know where to begin...

:)
Anne

4.01.2011

Baby Girl Skirt

I am in love with little girl clothes...and I am not necessarily talking about lace and frills.  I am just talking about all of the possibilities to take something simple and make something oh-so-cute.  Maybe it means I am having a girl.  Maybe it is because I already have a little girl (and she loves her little girl clothes...every time I dress her she wants to show Daddy her "bootiful outfit").  Whatever it is, this is my latest creation for my girlfriend Julie's little baby girl, complete with the how-to.


For an infant skirt, you will need:
  • Main fabric that will be the skirt, 1/2 yard should do it
  • Trim for skirt bottom, about 45" long (I used the bottom of a knit shirt I plan on re-purposing and it was less than 45".  You want to be able to gather it a bit...)
  • 10 inch piece of 1/2" elastic
  • Buttons, beads or other embellishments
  • Sewing machine, matching thread, etc...
1.  Cut the main fabric into 2 pieces, 6 1/2" x 15 each or one piece 6 1/2" x 30...or so (exact science, right?).  With right sides together, sew a seam down the short side(s) of your fabric, to make a tube.  Press in 1/4" inch around the top, then press in another 3/4" inch around the top to make what will be the casing for the elastic.  Press up 1/2" along the bottom to make the hem.

2.  Measure and cut the trim (I started with 1 1/2" off the bottom of the knit fabric but ended up cutting off another 1/2" because I liked the raw edge and wanted a little less length at the bottom.)  Cut a couple of additional strips bottom, about 1 inch wide, for the flowers.

3.  Baste one edge of the knit (trim) about 1/4" from the edge.  Pull the bobbin thread to gather.

4.  Adjust the gather and pin the right side of the knit to the wrong side of the main fabric bottom, lining up the top of the knit edge to the top of the main fabric's hem.

5.  Stitch 1/2" in from the top edge to make the casing for your elastic, leaving a gap to feed the elastic through.  Stitch the trim to the bottom edge.

6.  Make the knit flower rosettes.  I just took my strip of knit, gather and folded toward the center, and stitched through the middle periodically to secure the gathers.

7.  Add the buttons (or other embellishment) to the center of the flowers.  Hand-stitch the flowers to the skirt.

8.  Feed the elastic through the casing.  Overlap the ends of the elastic together slightly and stitch a couple of times across.  Sew your casing shut.  Too cute!

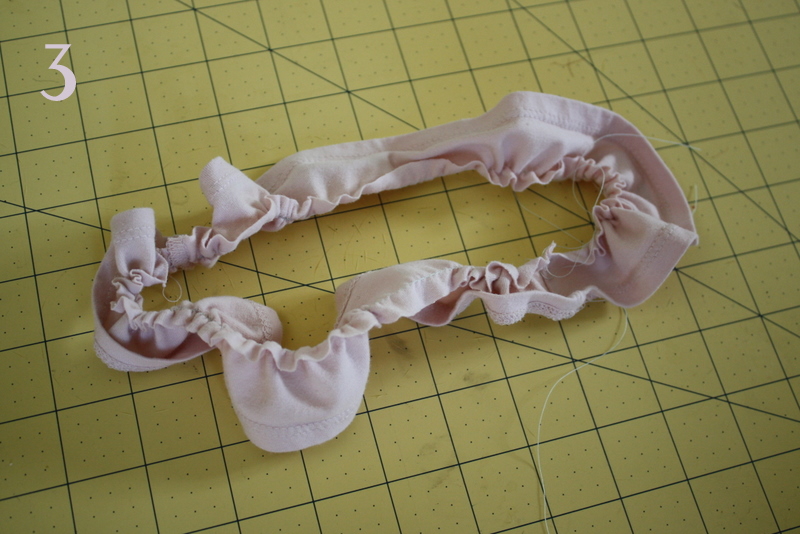
 As you can see, there is a headband to match...of course!  Super easy, super quick....


Cut a strip of fabric, fold wrong sides together and stitch along long, raw edge using a basting stitch.


Gather.


Roll the fabric and stitch in the center to make a large flower.


Put one of the knit rosettes in the center, add the button (or other embellishment) and stitch.


Cut a piece of elastic 13 inches long.  Overlap and stitch the ends together several times to secure.  Hand stitch the flower over the elastic stitching.  Told ya it was easy!

Of course we need a pretty package to finish it off.  You will be seeing this kind of massive tissue flower on more presents to come!  It is just too fun not to use again and again.  Get your tissue paper ready...


:)
Anne